
Building a Full-Stack Web Application
- Articles
- Building a Full-Stack Web Application
Building a Full-Stack Web Application
In today's fast-paced web development landscape, understanding both frontend and backend integration is crucial for developers. A full-stack project demonstrates the seamless connection between user interfaces and server-side logic, ensuring smooth data handling and user experience.
In this blog, we'll guide you through building a simple full-stack To-Do App using React (frontend), Node.js/Express (backend), and MongoDB (database). By the end, you'll have a fully functional web application that allows users to create, read, update, and delete tasks.
2. Project Overview
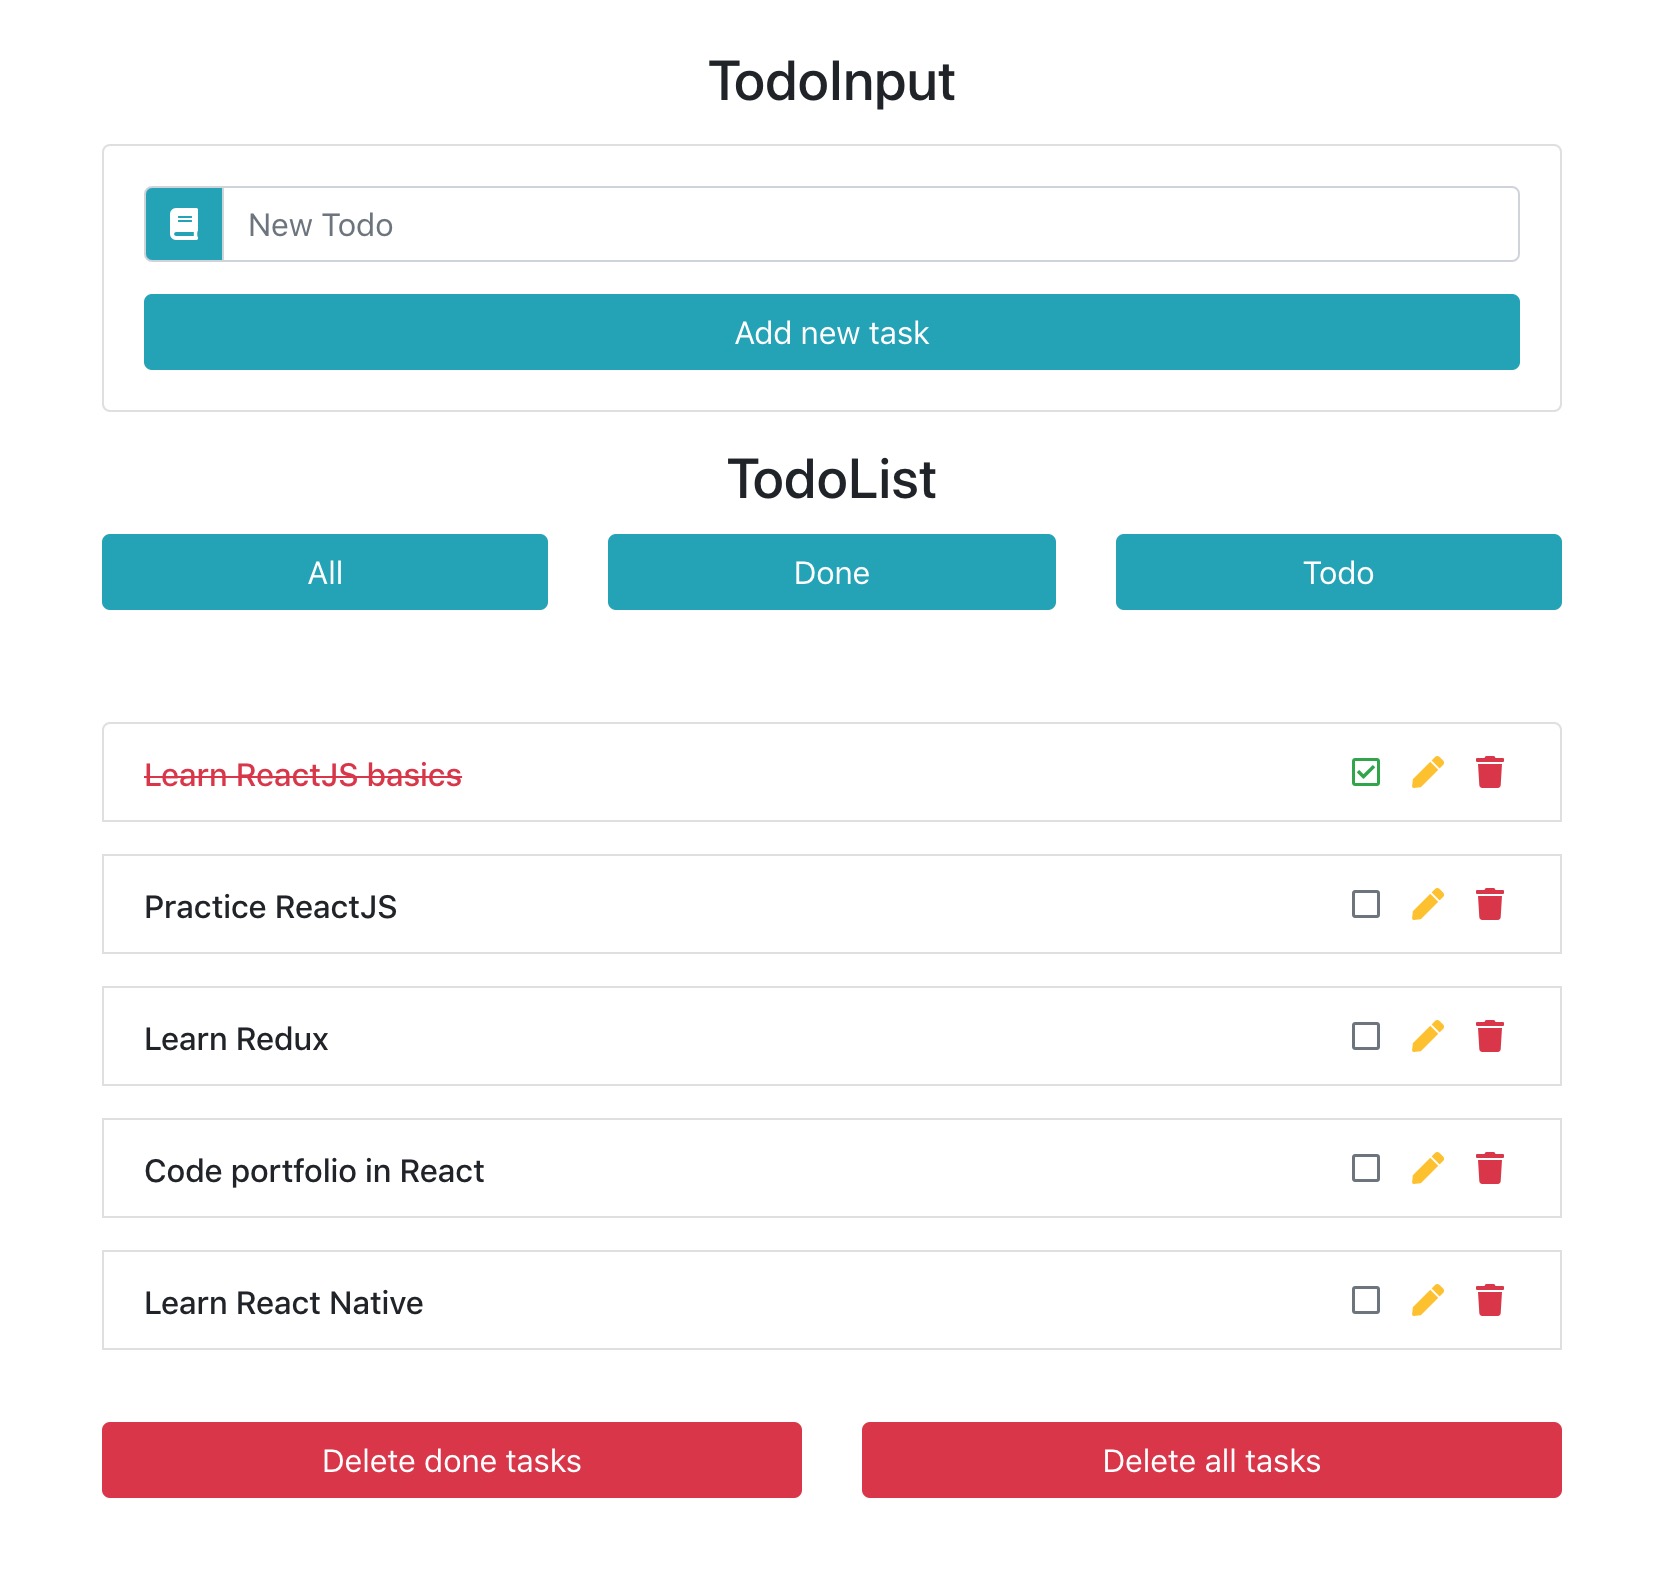
We’ll build a To-Do App with the following features:
Frontend (React)
- User interface to add, view, update, and delete tasks.
- API integration to fetch and manage tasks.
Backend (Node.js/Express)
- REST API for CRUD operations.
- Handles data requests and responses.
Database (MongoDB)
- Stores tasks persistently.
- Uses Mongoose for database interaction.
3. Setting Up the Backend
Step 1: Initialize the Project
mkdir backend && cd backend
npm init -y
Step 2: Install Dependencies
npm install express mongoose cors dotenv
Step 3: Create the Server
Create server.js and set up a basic Express server:
const express = require('express');
const mongoose = require('mongoose');
const cors = require('cors');
require('dotenv').config();

const app = express();
app.use(cors());
app.use(express.json());

mongoose.connect(process.env.MONGO_URI, {
  useNewUrlParser: true,
  useUnifiedTopology: true,
});

const taskSchema = new mongoose.Schema({
  title: String,
  completed: Boolean,
});

const Task = mongoose.model('Task', taskSchema);

app.get('/api/tasks', async (req, res) => {
  const tasks = await Task.find();
  res.json(tasks);
});

app.post('/api/tasks', async (req, res) => {
  const task = new Task(req.body);
  await task.save();
  res.json(task);
});

app.listen(5000, () => console.log('Server running on port 5000'));
Step 4: Connect to MongoDB
Create a .env file:
MONGO_URI=mongodb://localhost:27017/todoapp
Testing the API in Postman
4. Setting Up the Frontend
Step 1: Initialize the React Project
npx create-react-app frontend
cd frontend
npm install axios
Step 2: Create Components
TaskList.js
import React, { useEffect, useState } from 'react';
import axios from 'axios';

function TaskList() {
  const [tasks, setTasks] = useState([]);

  useEffect(() => {
    axios.get('http://localhost:5000/api/tasks')
      .then(response => setTasks(response.data));
  }, []);

  return (
    <ul>
      {tasks.map(task => (
        <li key={task._id}>{task.title}</li>
      ))}
    </ul>
  );
}

export default TaskList;
5. Connecting Frontend and Backend
Enable CORS in Backend
Ensure cors is used in server.js:
const cors = require('cors');
app.use(cors());
Fetch Data from Backend in React
useEffect(() => {
  axios.get('http://localhost:5000/api/tasks')
    .then(response => setTasks(response.data));
}, []);
6. Deployment
Deploy the Backend
Use Render, Heroku, or Vercel to deploy the Node.js server.
Deploy the Frontend
Use Vercel or Netlify to deploy the React app.
7. Conclusion
We successfully built a full-stack To-Do App, covering backend setup, frontend UI, and full integration. This knowledge is essential for full-stack developers, enabling them to build and deploy complete applications.